Loam by Karie Luidens

Loam.jpg

Sand or silt, a pinch of clay; all just man-made terms for categories that we impose on natural complexity. The soil in my backyard is what it is regardless of what name I decide to give it, and I’ll learn far more about its qualities by kneeling and sinking my hands in it over the course of the growing season than I will from inspecting a sample in a jar anyway. 

A funny thing about testing soil’s texture is that regardless of what we conclude about any given specimen, the advice for improving it—gradually coaxing it toward that healthy mix called loam—comes down to the same basic principles for everyone. 

First of all, you can’t fundamentally change the soil’s texture. The mix of particle sizes in any given area is determined by eons and eons of geological activity, and a few human actions won’t suddenly wear sand down into clay or build clay up into sand across a significant swath of land. 

But, significantly, you can enrich soils of any texture by preventing erosion and compaction, and by incorporating more and more organic matter into its mineral particles over time. 

Clay by Karie Luidens

Clay.jpg

One thing’s for sure, at least: there’s virtually no clay content in my garden plot. On the one hand that means I probably won’t have to worry about flooding or compaction; on the other, my crops may struggle to get enough water and nutrients over the course of the growing season. Time will tell. 

Silt by Karie Luidens

Jar Test.jpeg

Actually, I’m not sure about my soil’s texture. At first I thought it contained virtually all sand-sized particles; now I’m wondering if that homogeneous mass isn’t actually silt. 

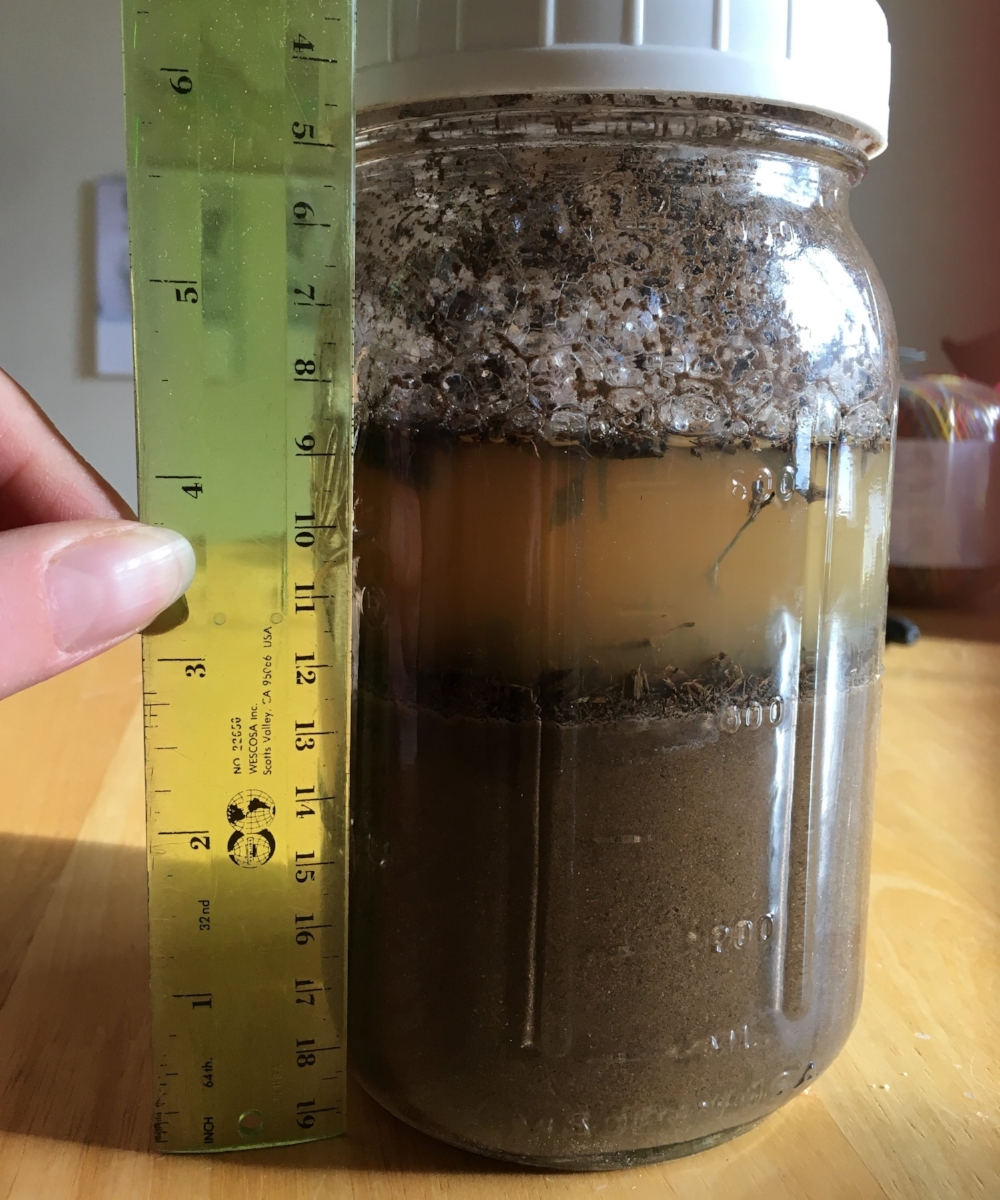
Here are my results, versus those of a much clearer sample: 

Jar Test.jpeg
Jar Test Example.jpg

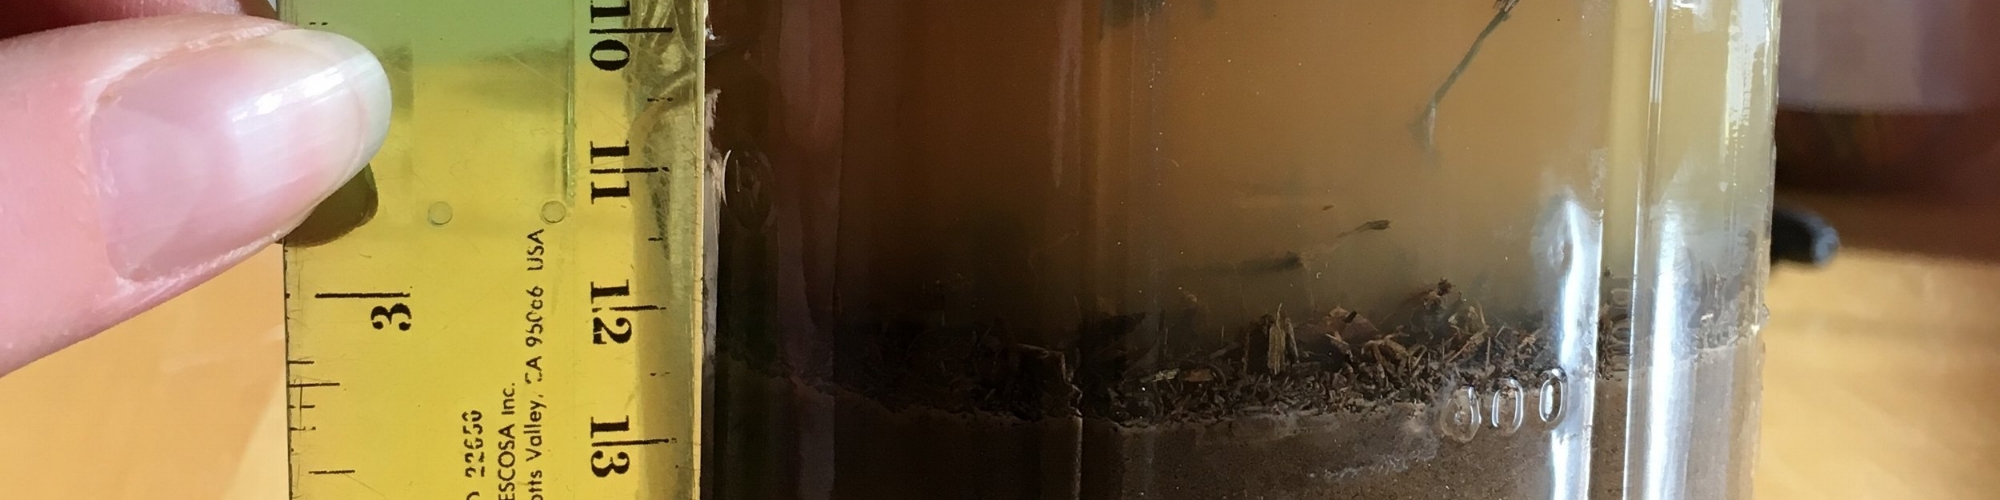
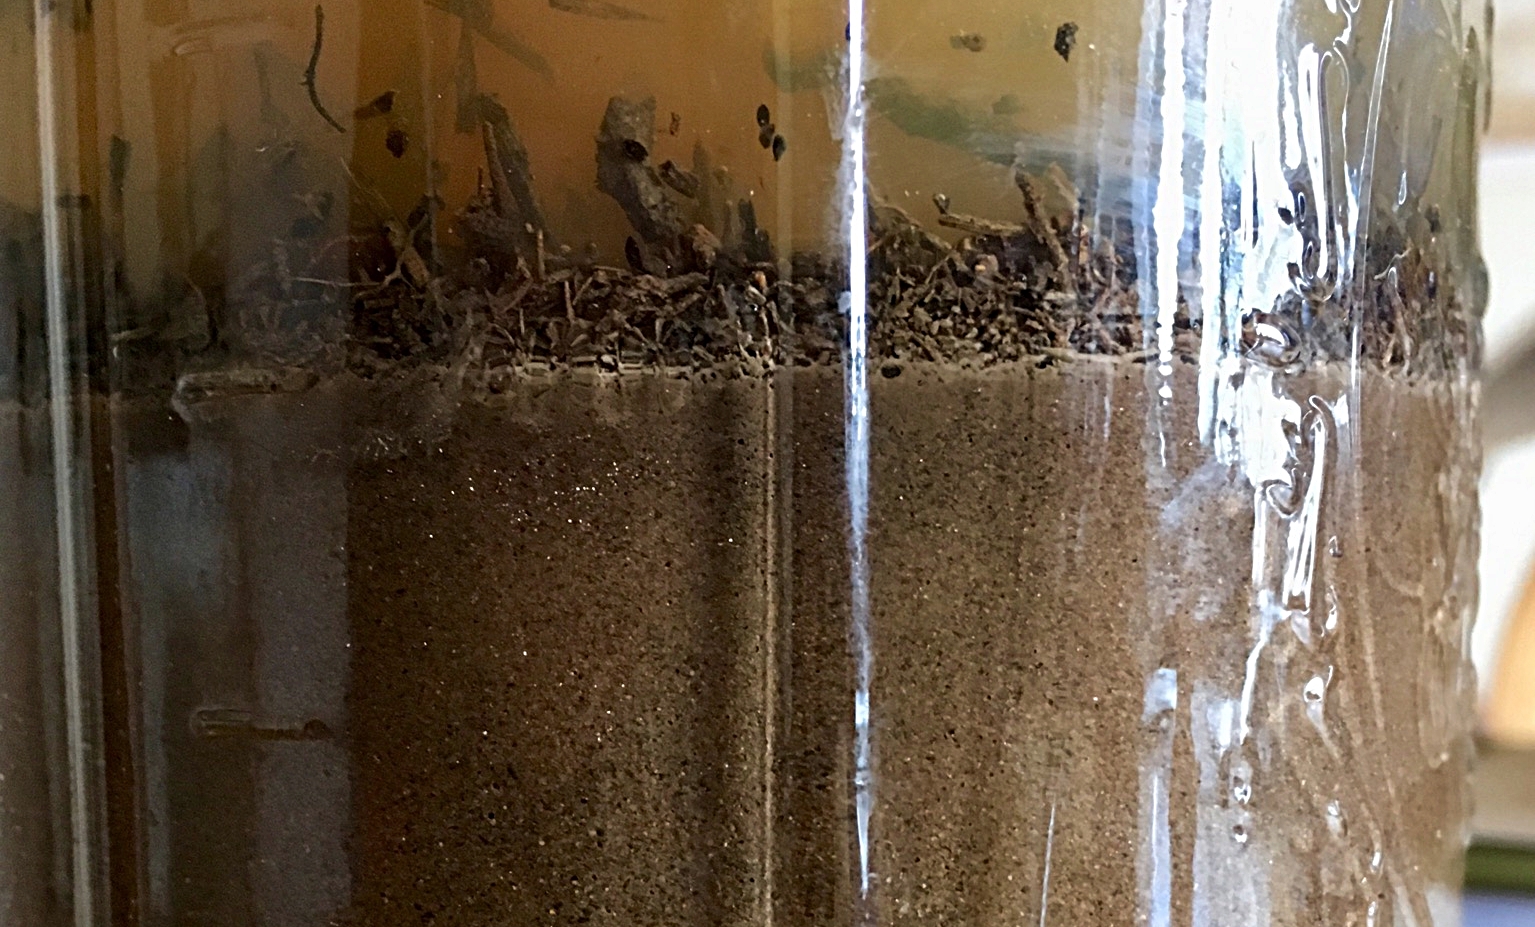
Heavier particles settle first, while tiny clay particles can stay suspended in water for days or even indefinitely. The test on the right has beautifully obvious delineations between the bottom two inches of sand, two thirds of an inch of silt, and a quarter-inch band of dark clay (topped by water that’s still murky and foamy from the shake-up). 

In contrast, my test on the left is... I mean, it’s kind of just brown, right? With a thin layer of organic debris at the water line, sure, but otherwise pretty uniform. What do you think, sand or silt? 

Silt 2.jpeg

Sand by Karie Luidens

Silt.jpeg

The results of the “jar test” are in, and it looks like my soil is... brown? 

I’m new to this. 

The goal of shaking it up in water and measuring the layers that settled out the next day was to determine the soil’s texture, that is to say, the size of its mineral particles. I actually researched the concept of soil texture a few years ago for a piece I wrote about Pueblo pottery, so I knew the scale would go something like this: 

62.5 µm - 2 mm   =   sand
3.9 - 62.5 µm   =   silt
< 3.9 µm   =   clay

In other words, soils that are mostly sand have the largest particle size, which means they have the least surface area and the most porous space between particles. This makes them light and grainy, and allows air to circulate and water to drain quickly. Plants generally have an easy time putting down roots in sandy soils, but they might not find much in the way of moisture and nutrients when they do. 

Clays are at the opposite end of the spectrum, with microscopic particles that pack together so tightly they can look and feel like a single smooth mass. They retain rich nutrient levels, but that nutrition may not be available to most types of plants as their roots struggle to infiltrate the dense material, which can be rock-hard when dry and smotheringly heavy when wet. 

The goal for vegetable gardeners isn’t just the happy medium that is silt, whose medium-sized particles offer a mix of sand and clay’s pros and cons. Instead, ideally your soil consists of a combination of all different particle sizes aggregating into a fluffy, well-aerated, damp-but-draining, nutrient-rich loam. 

Unfortunately, based on my jar test, I think I’ll be contending with sandy soil out back. 

Homework by Karie Luidens

Homework.jpeg

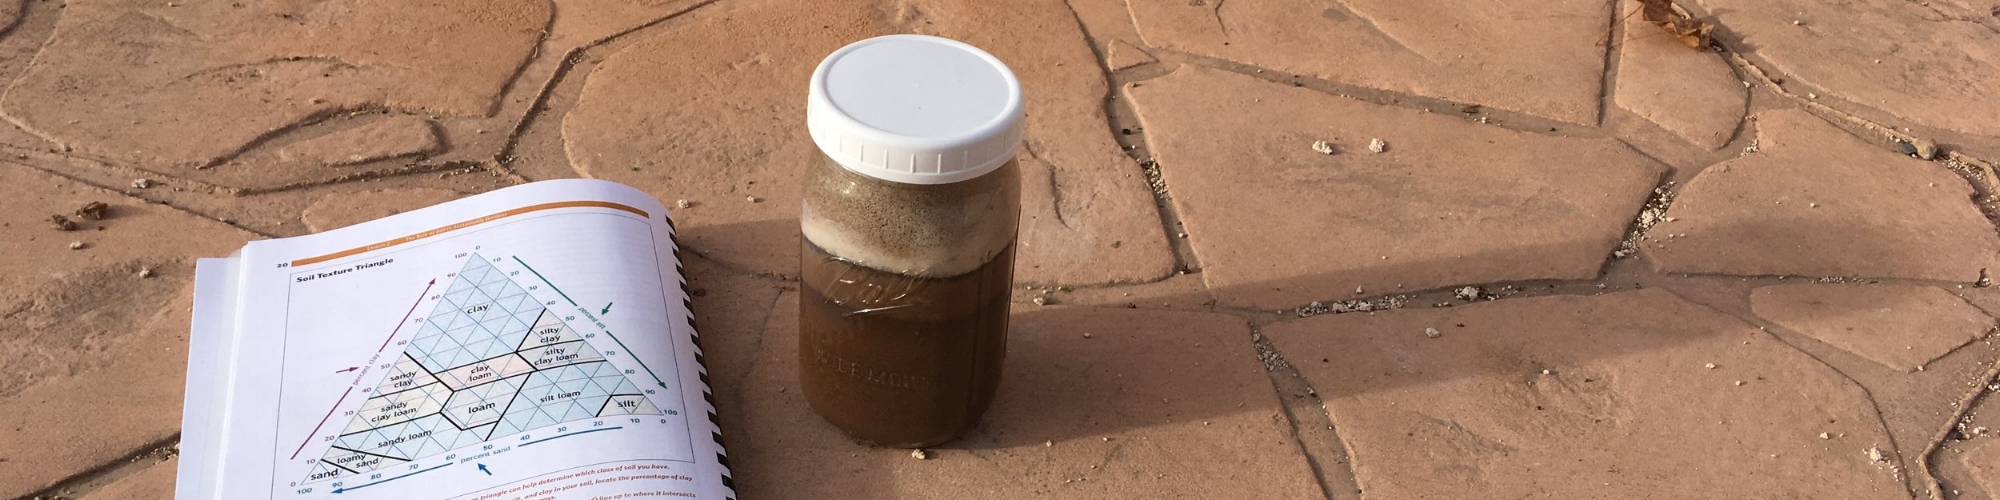
My assignment for yesterday’s workshop on soil health: scoop up a bit of my backyard, top it off with water, give it a good shake, and measure the sediment that settled out. 

The results? 

Twenty-four hours later... 

Workshops by Karie Luidens

Workshop.jpeg

Oh yeah, one more series of classes I’ve been lucky enough to sign up for here in Albuquerque is Landscape for Life

This is a nationally recognized program that covers the basics to plan and design your home garden landscape focusing on sustainability, permaculture, and wise use of our limited natural resources. Each workshop builds on information shared from previous classes and offers tools to assess your home landscape. 

And on that note, the second workshop in the five-part series is this morning, so I’m off to learn about Successful Soil Practices and the Role of Water

Bring soil samples from home for assessment with the help of a soil scientist. The presenter will discuss how to create and manage soil that produces an abundant garden. The second part of the workshop will delve into the use of water in a landscape. 

Classes by Karie Luidens

Classes.JPG

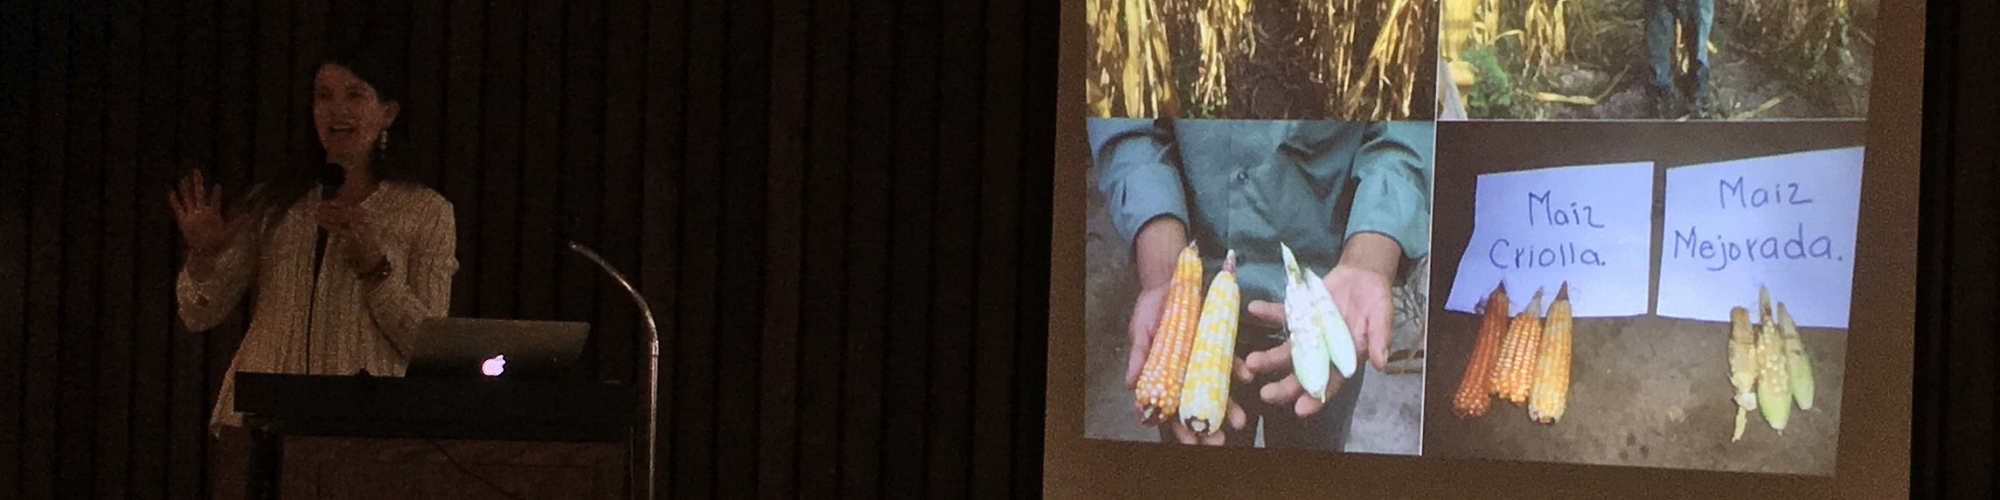
Over the last two months I’ve had the good fortune to attend a handful of free classes and workshops around town: the vermiculture class in January that helped me set up my worm composting system, that presentation at the Gutiérrez-Hubbell House on agricultural traditions in the region, a talk on seeds at the city-wide seed swap a couple weeks ago. 

Well, now I’m signing up for some more formal training! At the end of March I’ll be driving to Tucson to participate in Native Seeds/SEARCH’s two-day “Introduction to Seed Saving” course—and I can’t wait! 

The original master of all things green.

The original master of all things green.

Then in April I’ve applied to participate in the Bernalillo County Master Composters Program training. That’ll entail thirty hours of hands-on classwork over four weeks, followed by a written final exam. If all goes well, come May I’ll officially be... a MASTER. 

Resources come in many forms, both natural and human. I’m glad that this garden project is prompting me to engage with all kinds of resources around me wisely and well. 

Podcasts by Karie Luidens

Podcasts.jpeg

Going beyond books, I also love podcasts as a source of inspiration and information; they make great background while I cook dinner each night. One of my favorites is Toasted Sister, produced right here in Albuquerque by Andi Murphy, and the other night I geeked out when her latest episode just happened to feature a friend of mine! Take a listen yourself to learn about the Indian Pueblo Cultural Center’s Resilience Garden in the words of Bettina Sandoval. 

Books by Karie Luidens

Books 2.jpg

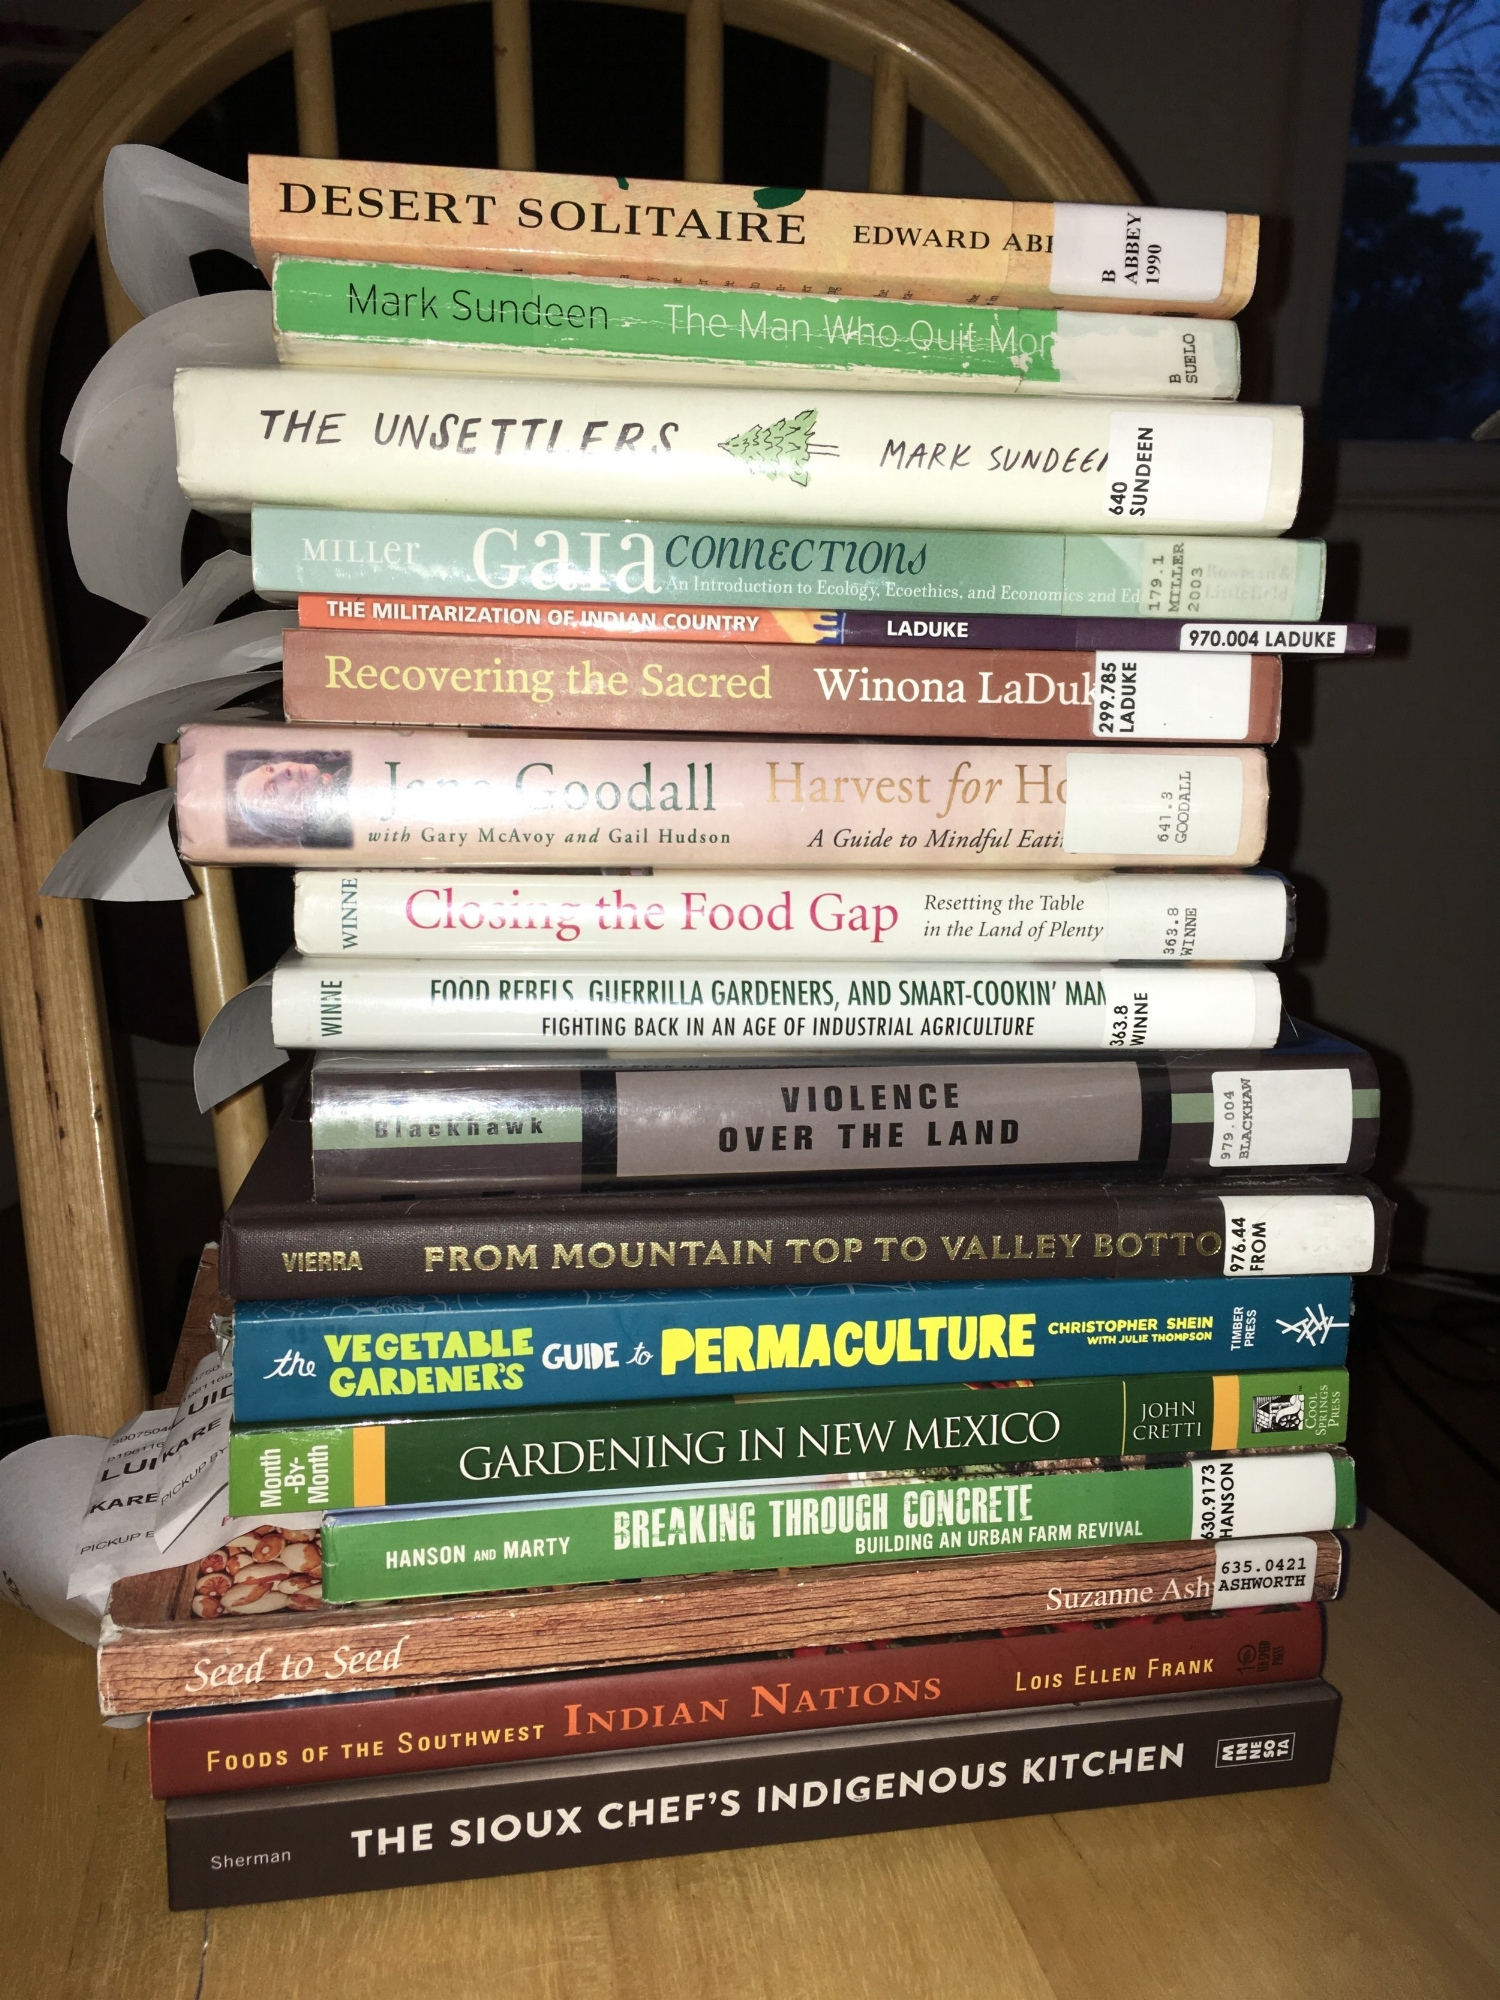
So yes, sun, birds, bees—soon it’ll be spring and I’ll be outdoors for long mornings and afternoons, hard at work for the planting season. But for now I’m still spending a lot of time curled up inside away from the chill with thick socks and a stack of books. And that, in its own way, is part of this whole project too. In the words of farmer Joel Salatin of Polyface Farms, as quoted by Michael Pollan in The Omnivore’s Dilemma:

Books.jpeg
You know what the best kind of organic certification would be? Make an unannounced visit to a farm and take a good long look at the farmer’s bookshelf. Because what you’re feeding your emotions and thoughts is what this is really all about. The way I produce a chicken is an extension of my worldview. You can learn more about that by seeing what’s on my bookshelf than having me fill out a whole bunch of forms. (pp 131-2)


In the spirit of Salatin’s proclamation, and since I’ve been plowing my way through a rich, long reading list all winter, I figured I’d invite the world to look at my bookshelf. So I put it online. I hope it serves as inspiration as well as an informal “Works Referenced” for this whole food-growing adventure. 

Bees by Karie Luidens

Bee.jpg

Another local workshop that’s now on my calendar, courtesy of the City of Albuquerque Parks & Recreation Department’s Open Space Visitor Center

How to Attract Native Bees into Your Yard
Come learn simple ways to provide healthy forage and habitat!

When

Mar 31, 2018, 10:00 AM - 12:00 PM

Where

Open Space Visitor Center
6500 Coors Blvd NE
Albuquerque, NM 87120

Description

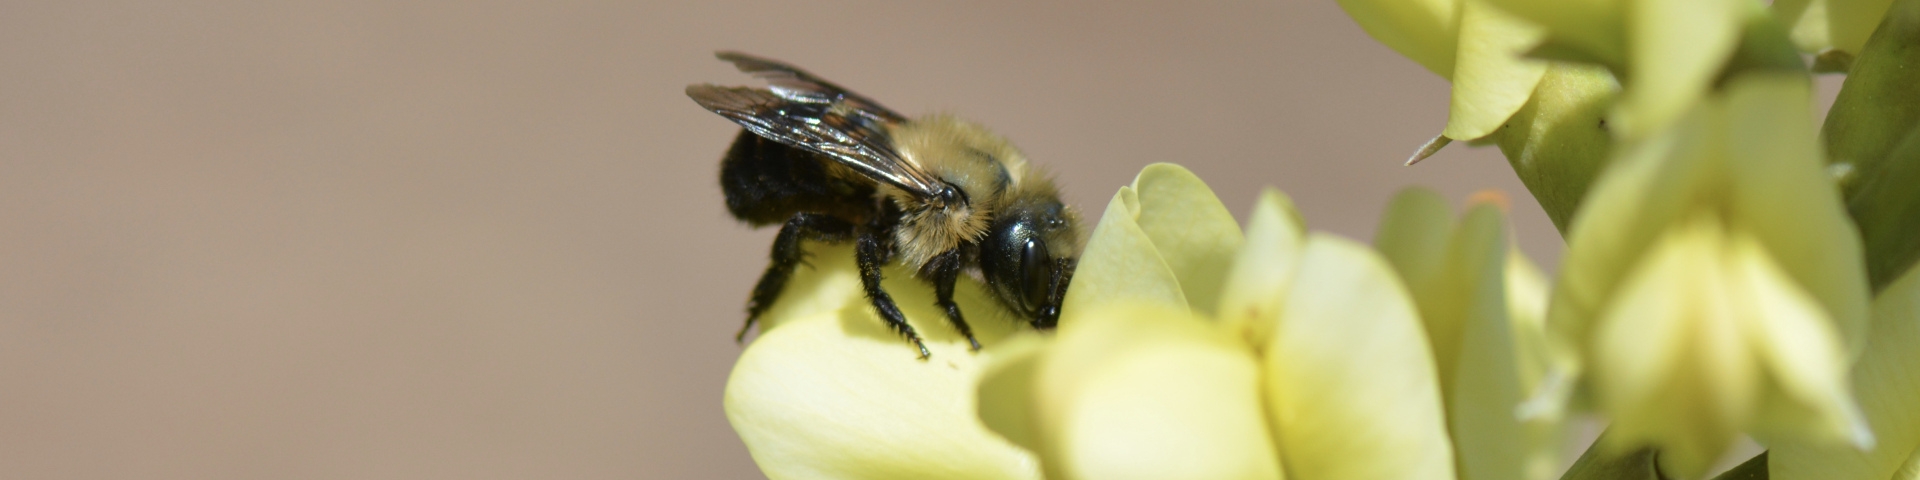
Did you know there are 1100 species of native bees in New Mexico? Come learn about these wondrous pollinators from Lu Lu Sage. Lu Lu will help you learn to "see these bees." She'll talk about the life cycle of these bees and the foraging plants they visit. She'll share some simple ways that you can attract bees into your yard by providing healthy foraging plants and habitat. Lu Lu will also conduct a workshop on how to construct and maintain cavity nesting brood boxes and reed bundles. She will share best practices to hang these boxes and how to keep future generations of bees healthy and viable. Handouts will be provided.